Building your dream enduro bike can be an exciting and rewarding experience. But with so many options available, choosing the right frame and suspension can feel overwhelming. Your choice will directly affect the bike’s handling, comfort, and performance, making it essential to match these components to your specific riding style.
In this article, we’ll guide you through the process of selecting the right enduro bike frame and suspension setup to suit your needs, whether you’re a seasoned racer or a weekend warrior. Let’s break down the key factors to consider when choosing the perfect frame and suspension for your enduro bike build.
1. Choosing the Right Enduro Bike Frame
The frame is the backbone of your bike, affecting everything from handling to comfort. When selecting a frame for your enduro bike, consider these key elements:
Material: Aluminum vs. Carbon
- Aluminum Frames: Aluminum is the go-to material for most enduro bikes, thanks to its strength, affordability, and relatively low weight. Aluminum frames are tough and can handle rough terrain without sacrificing too much durability. They are also more budget-friendly than carbon frames, making them an excellent option for riders looking to build a solid bike without breaking the bank.
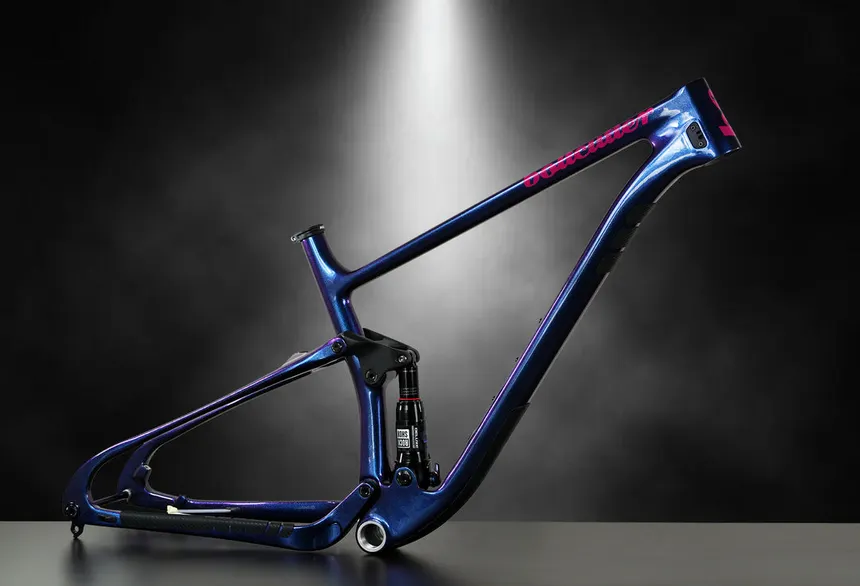
- Carbon Frames: Carbon fiber frames are lighter, stiffer, and offer superior vibration damping compared to aluminum. This means they can provide a more responsive ride and improved comfort on long, rough descents. However, carbon frames come at a premium price, so they’re best suited for riders who prioritize performance and are willing to invest in a higher-end bike.
Tip: If you’re looking for the best balance between weight, performance, and price, an aluminum frame is a solid choice for most riders. Carbon frames are worth the investment if you want the lightest and most responsive setup for competitive racing or technical riding.
Frame Geometry: Steep vs. Slack
Enduro bikes are designed to handle a mix of climbing and descending, so frame geometry plays a key role in how your bike handles. Key aspects to consider include:
- Head Angle: A slacker head angle (around 64-66°) gives the bike more stability on steep descents and technical terrain. This is ideal for aggressive riders who prioritize downhill performance. However, slacker angles may make the bike feel less agile on tight corners or when climbing.
- Seat Angle: A steeper seat angle (around 75-78°) improves pedaling efficiency and helps with comfort during climbs. A more upright position ensures better power transfer and can reduce fatigue on long rides.
- Reach and Stack: These measurements determine your riding position. A longer reach makes for a more stretched-out, aggressive position, perfect for high-speed descents. A higher stack provides a more upright and comfortable position for climbing or all-day rides.
Tip: For most enduro riders, a balanced geometry with a moderate head angle (around 65-66°) works well for both climbing and descending. If you plan on doing more aggressive descending, opt for a slacker angle.
2. Selecting the Right Suspension: Fork and Shock
Suspension is where your bike will really shine when it comes to comfort and control. Getting the right suspension setup ensures that your bike performs optimally whether you’re on a technical downhill run or grinding up a steep climb.
Suspension Travel: Fork and Rear Shock
Enduro bikes typically feature suspension travel between 150mm and 180mm, depending on your riding style.
- Fork Travel (150mm – 180mm): The fork is critical for handling rough terrain and absorbing impacts. A longer travel fork (160mm – 180mm) will provide better control and comfort on steep, rocky descents. For lighter or more technical riders, a shorter travel fork (150mm) may provide better handling and efficiency on less aggressive trails.
- Rear Shock Travel (140mm – 170mm): The rear shock should complement the fork travel to maintain balanced handling. A longer travel rear shock offers more comfort and control on rougher descents but may feel sluggish on climbs. Shorter travel shocks (around 140mm) keep the rear end firmer for better efficiency on climbs while still absorbing impacts on moderate descents.
Tip: For an all-around enduro bike, a balanced travel setup (e.g., 160mm fork, 150mm rear shock) is a great starting point. If you ride mostly aggressive, downhill-focused terrain, go for longer travel. For more climbing-focused rides, shorter travel might be a better option.
Fork and Shock Type: Air vs. Coil
- Air Suspension: Air forks and shocks are lighter and adjustable, making them great for enduro bikes. You can fine-tune the air pressure to match your weight and riding style, providing a responsive and efficient ride. Air suspension is more common in modern enduro bikes and works well for most riders.
- Coil Suspension: Coil forks and shocks tend to offer more consistent performance, especially for rough terrain. They excel in absorbing big hits and provide a more plush ride, but they are heavier than air suspension. Coil setups are typically used by riders who prioritize descending and want more predictability in their suspension’s behavior.
Tip: Air suspension is usually the go-to choice for enduro bikes due to its adjustability and lighter weight. Coil suspension is ideal for riders looking for more plushness and control on the roughest terrain but comes with a heavier weight.
Suspension Tuning and Adjustments
Once you’ve selected your fork and shock, fine-tuning is essential. You’ll need to adjust things like:
- Sag: Set the correct sag (around 25-30% of travel) to ensure your suspension works effectively. Too much sag will make the bike feel sluggish, while too little can lead to a harsh ride.
- Compression and Rebound Damping: Adjust the compression to control how the suspension handles small bumps and big hits. Rebound controls how quickly the suspension returns after compressing. For climbing, you’ll want more compression and faster rebound, while for descending, you’ll want the opposite to absorb rough terrain more effectively.
Tip: Suspension setup is very personal. Make small adjustments and test them on the trail to find the perfect balance of comfort and control for your riding style.
3. Other Considerations: Weight, Durability, and Budget
When choosing both the frame and suspension, it’s important to balance weight, durability, and your budget.
- Weight: A lighter frame and suspension will improve efficiency on climbs and make the bike feel more agile. However, lighter materials can sometimes be less durable, especially for aggressive riders. Finding a balance is key, so consider your riding style before prioritizing weight savings.
- Durability: Enduro riding can be demanding on your bike, so durability is crucial. Choose a frame made from high-quality materials like 7000-series aluminum or carbon fiber, and opt for suspension components known for their toughness and performance.
- Budget: Building an enduro bike can get expensive, especially with high-end carbon frames and premium suspension. Start by prioritizing the most important components—frame and suspension—then gradually upgrade other parts like wheels, tires, and drivetrain as your budget allows.
Tip: Don’t skimp on the frame and suspension—these components will have the greatest impact on your bike’s performance. Other parts can be upgraded later as needed.
Leave a Reply